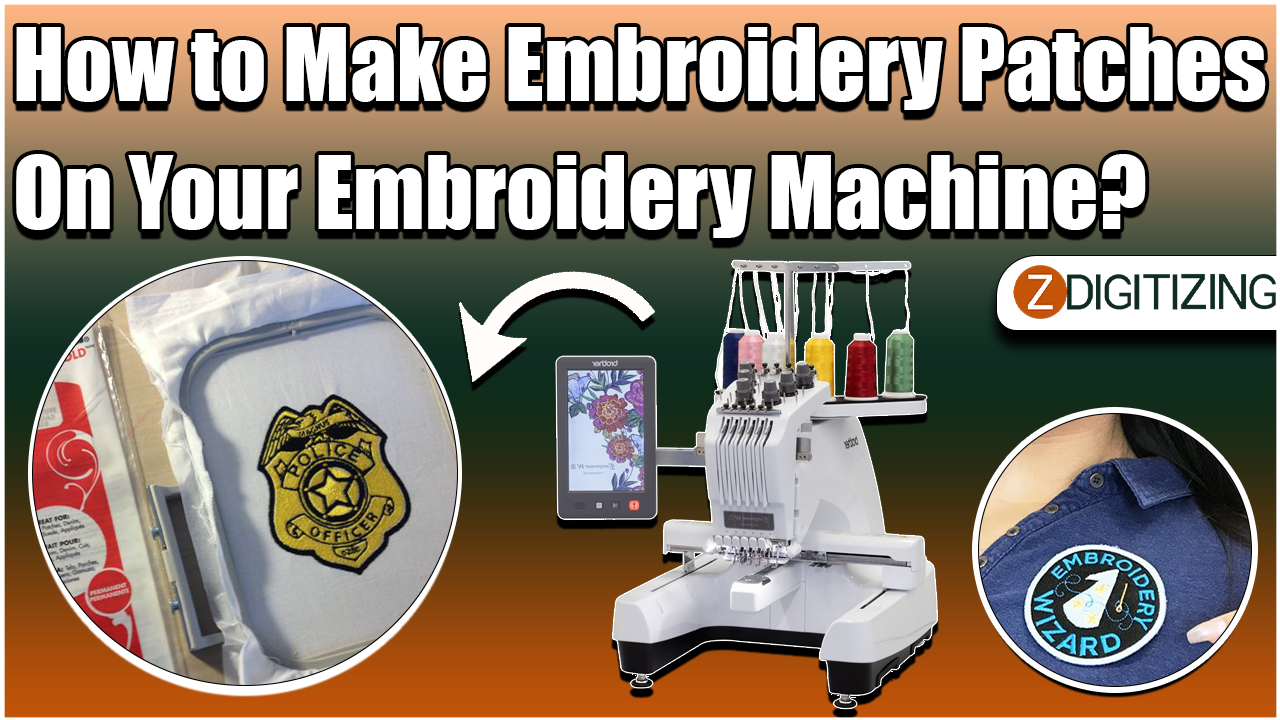
Embroidery patches are timeless accessories that allow you to add a personal touch to your clothing, bags, and accessories. Making custom embroidery patches with your embroidery machine is a rewarding and creative endeavor. In this comprehensive guide, we will take you through the step-by-step process of creating embroidery patches with your embroidery machine, enabling you to unleash your creativity and adorn your belongings with unique designs.
Table of Contents
- Introduction
- Understanding Embroidery Patches
- Preparing Your Materials
- 3.1. Fabric Selection
- 3.2. Stabilizer Choice
- 3.3. Thread Selection
- Creating the Design
- 4.1. Digitizing Your Design
- 4.2. Adjusting Design Size
- 4.3. Design Density
- 4.4. Thread Colors
- Hooping and Setting up Your Machine
- Stitching Your Patch
- 6.1. Stitching the Outline
- 6.2. Filling the Design
- Post-Production
- 7.1. Trimming and Cutting
- 7.2. Heat-Sealing the Edges
- Application Options
- 8.1. Sew-On Patches
- 8.2. Iron-On Patches
- Maintaining Your Embroidery Machine
- Creative Ideas and Inspiration
- Conclusion
1. Introduction
Embroidery patches are not only a fashion statement but also a way to express your individuality. With an embroidery digitizing machine and some creativity, you can craft custom patches that showcase your style and personality.
2. Understanding Embroidery Patches
Embroidery patches are fabric pieces adorned with intricate embroidery designs. They can be sewn or ironed onto various items, making them a versatile and customizable accessory.
3. Preparing Your Materials
3.1. Fabric Selection
Choosing the right fabric is crucial. Opt for a sturdy fabric like twill, denim, or canvas, as it provides a stable base for embroidery.
3.2. Stabilizer Choice
Stabilizer supports the fabric during embroidery. Use tear-away or cut-away stabilizer, depending on your design’s complexity.
3.3. Thread Selection
Quality embroidery threads are essential for vibrant and long-lasting patches. Polyester threads are a popular choice for their durability and color retention.
4. Creating the Design
4.1. Digitizing Your Design
Use best embroidery software to digitize your design or modify existing ones. Ensure your design is suitable for patches.
4.2. Adjusting Design Size
Scale your design to fit the patch dimensions. Keep it within a reasonable size to maintain detail and clarity.
4.3. Design Density
Modify the stitch density to ensure the design looks crisp and not overcrowded with stitches.
4.4. Thread Colors
Choose thread colors that complement your fabric and design. A well-thought-out color scheme enhances the visual appeal of your patch.
5. Hooping and Setting up Your Machine
Proper hooping is crucial for achieving precise embroidery. Ensure your fabric and stabilizer are taut and secure within the hoop. Set your embroidery machine to the appropriate settings based on your design and materials.
6. Stitching Your Patch
6.1. Stitching the Outline
Begin by stitching the outline of your patch design. This helps define the shape and prevents fabric fraying.
6.2. Filling the Design
After the outline, fill in the design with your chosen thread colors. Monitor the machine to ensure smooth and accurate stitching.
7. Post-Production
7.1. Trimming and Cutting
Once the zdigitizing design is complete, carefully remove the fabric from the hoop. Trim any excess stabilizer and threads to tidy up the patch.
7.2. Heat-Sealing the Edges
To prevent fraying, you can heat-seal the edges of your patch using a lighter or a specialized tool. Be cautious to avoid scorching the fabric.
8. Application Options
8.1. Sew-On Patches
Sew-on patches require stitching around the edges to attach them to garments or accessories. Use a strong thread and a needle suitable for your fabric.
8.2. Iron-On Patches
Iron-on patches come with a heat-activated adhesive backing. Simply place the patch on your item and apply heat with an iron to secure it in place.
9. Maintaining Your Embroidery Machine
Regularly clean and maintain your embroidery machine to ensure it continues to produce high-quality patches. Refer to your machine’s manual for specific maintenance instructions.
10. Creative Ideas and Inspiration
Explore various design ideas and inspirations for your custom patches. From logos and monograms to intricate artworks, the possibilities are endless.
11. Conclusion
Creating custom embroidery patches with your embroidery machine is a satisfying and creative endeavor. With the right materials, designs, and techniques, you can craft patches that reflect your style and personality. Whether you’re embellishing clothing, bags, or accessories, custom patches are a unique way to make a statement and showcase your creativity.
So, gather your materials, fire up your embroidery machine, and start crafting your custom patches today. With a bit of practice and creativity, you’ll be producing stunning patches to personalize and adorn your favorite items. Happy embroidering!

