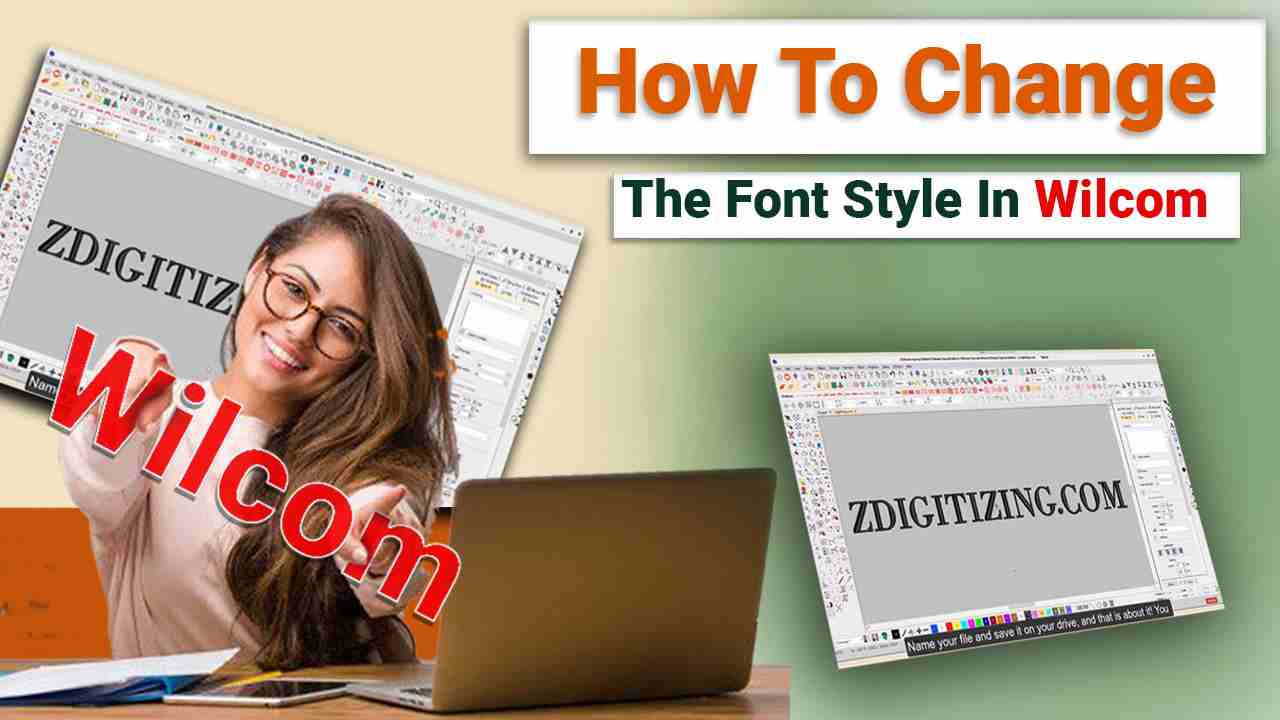
Embroidery digitizing has come a long way, thanks to advancements in technology and the availability of powerful software tools like Wilcom. Customizing fonts is a fundamental aspect of digitizing, and Wilcom stands out as one of the best embroidery software solutions for this purpose. In this comprehensive guide, we’ll explore six essential hacks to help you change font styles in Wilcom, enhancing your zdigitizing experience and taking your embroidery projects to the next level.
Understanding the Significance of Font Styles
Before we delve into the hacks, let’s take a moment to understand why font styles matter in embroidery digitizing.
Font styles play a crucial role in conveying the message and aesthetics of your design. Whether you’re creating intricate monograms or adding text to a logo, choosing the right font style is vital for achieving the desired look and impact.
Hack 1: Mastering the Font Selection
Wilcom offers a vast library of fonts, allowing you to choose the perfect style for your project. To change the font style effectively:
- Access the font library within Wilcom.
- Browse through various font styles and select one that aligns with your design vision.
- Consider the size and readability of the font, especially if you’re working on intricate designs.
Hack 2: Exploring Font Customization
Once you’ve chosen a font style, it’s time to customize it to fit best embroidery software your embroidery project precisely. Wilcom provides several tools for this purpose:
- Adjust the font size: Resize the font to ensure it fits within the designated area of your embroidery design.
- Modify letter spacing: Fine-tune the spacing between letters to achieve the desired layout.
- Experiment with font effects: Wilcom allows you to add effects like bold, italic, or underlined text to make your design more captivating.
Hack 3: Converting Text to Stitches
In embroidery digitizing, text must be converted into stitches to be embroidered. Wilcom simplifies this process:
- Select the text you want to convert.
- Choose the stitch type (satin stitch, fill stitch, etc.) that suits your design.
- Adjust stitch parameters like density and underlay to achieve the desired texture and appearance.
Hack 4: Handling Complex Fonts
Some projects may require more intricate fonts or scripts. To effectively handle complex fonts:
- Use the “Create Outlines” feature in Wilcom to convert complex fonts into stitchable outlines.
- Fine-tune the outlines to ensure they match the original font style while remaining stitch-friendly.
Hack 5: Working with Multiple Text Elements
In some cases, your embroidery design may include multiple text elements. To manage this effectively:
- Organize your design by grouping related text elements.
- Adjust the placement and orientation of each text element to ensure visual harmony.
Hack 6: Practice and Experimentation
Becoming proficient in changing font styles in Wilcom requires practice and experimentation:
- Create test designs to experiment with different font styles and settings.
- Challenge yourself with various projects to hone your skills and discover new creative possibilities.
Conclusion
In the world of zdigitizing and embroidery digitizing, mastering the art of changing font styles is a valuable skill. With Wilcom’s versatile tools and the six essential hacks outlined in this guide, you can elevate your embroidery projects and create stunning, customized designs that leave a lasting impression.
So, go ahead, explore the world of fonts in Wilcom, and let your creativity shine through in your embroidery digitizing endeavors. The best embroidery software just got even better!
Remember, practice makes perfect, so don’t hesitate to experiment with different font styles and settings to find the perfect match for your next embroidery masterpiece. Happy digitizing!
Frequently Asked Questions
- What is zdigitizing, and how does it relate to embroidery digitizing? Zdigitizing is a term often used interchangeably with embroidery digitizing. It refers to the process of converting artwork or designs into digital embroidery files that can be used by embroidery machines to create stitched designs.
- Is Wilcom the best embroidery software available? Wilcom is widely regarded as one of the best embroidery software solutions due to its extensive features and user-friendly interface. However, the “best” software may vary depending on individual preferences and project requirements.
- Can I import custom fonts into Wilcom for embroidery digitizing? Yes, you can import custom fonts into Wilcom to use in your embroidery digitizing projects. This allows for greater design flexibility and creativity.
- What is the importance of text conversion to stitches in embroidery digitizing? Converting text to stitches is essential because it transforms text elements into embroidery-friendly formats that can be stitched out accurately by embroidery machines, ensuring the desired appearance and quality.
- Are there any online resources or tutorials for learning more about Wilcom and font customization? Yes, there are many online tutorials, forums, and resources dedicated to Wilcom and embroidery digitizing. These resources provide valuable insights, tips, and step-by-step guides to help you enhance your skills in font customization and digitizing.