Introduction:
Draw a Stingray: Drawing isn’t just an innovative and charming movement, however, it likewise permits us to communicate our thoughts and catch the excellence of our general surroundings. If you’re keen on marine life or basically have any desire to further develop your drawing abilities, figuring out how to draw a stingray can be a tomfoolery and remunerating experience. Stingrays are intriguing animals known for their interesting shape and effortless development. In this bit-by-bit guide, we will walk you through the most common way of drawing a stingray from beginning to end. Explore all ideas for drawing for kids.
Materials You Will Need
Before we begin drawing, we should accumulate the materials you’ll have to make your stingray magnum opus. You want nothing excessively extravagant; essential craftsmanship supplies will get the job done:
Drawing Paper: You can utilize any sort of drawing paper you have close by. A smooth surface paper turns out best for fledglings.
Pencils: You’ll require a bunch of pencils with various lead grades, going from 2H (hard) to 6B (delicate). This assortment will permit you to make various shades and subtleties in your drawing.
Eraser: A decent quality eraser is fundamental for rectifying slip-ups and adapting.
Sharpener: To save your pencils sharp for exact lines and subtleties.
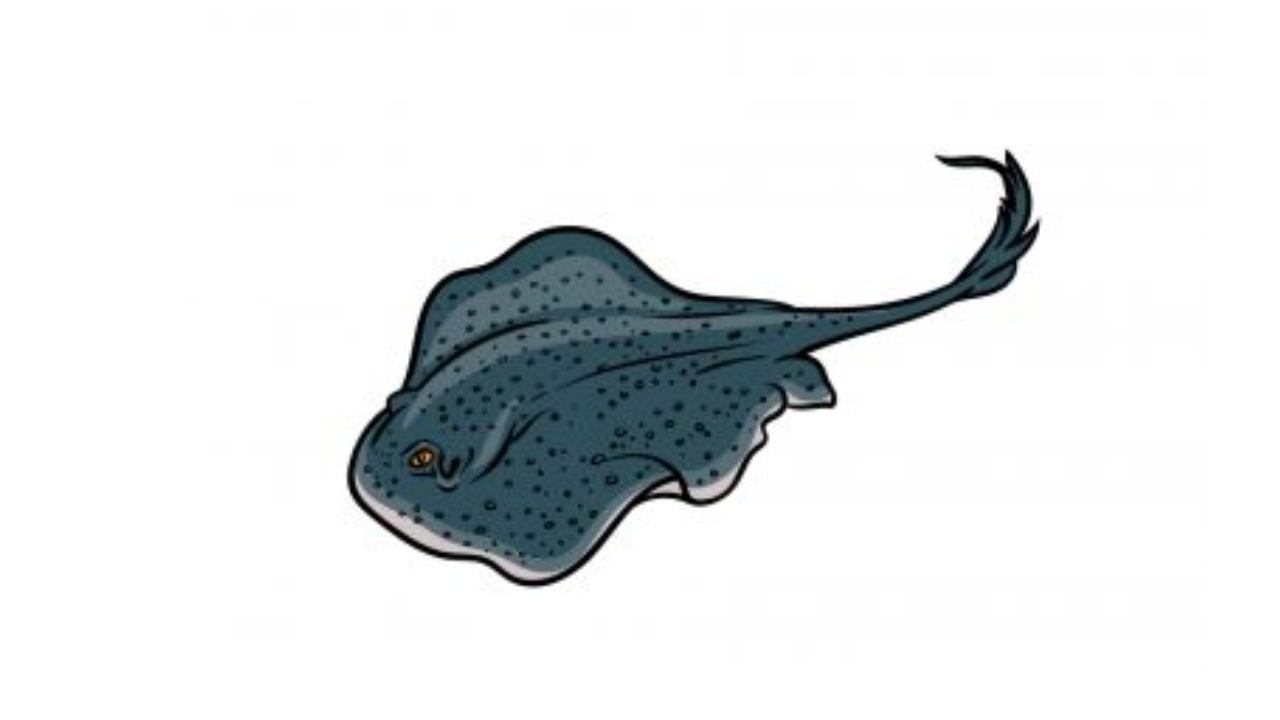
Reference Picture: It’s useful to have an image of a stingray to reference while you draw. You can find one in a book, magazine, or on the web.
Stage 1: Essential Shape
Begin by delicately outlining the fundamental state of the stingray’s body. Stingrays have a particular jewel formed body with extended, wing-like blades. Draw a smoothed precious stone shape with marginally bended corners to address the fundamental body of the stingray.
Stage 2: Tail and Balance
Presently, draw the tail and balance. The tail of a stingray is long and whip-like, while the balance stretches out along the whole length of the body, giving it its trademark appearance. Draw the tail reaching out from the lower a piece of the precious stone shape and the blade along the top. The tail ought to be more slender than the body, tightening as it goes. Make a point to catch the effortless bend of the tail.
Stage 3: Head and Eyes
Then, sketch the head and eyes. The top of a stingray is to some degree pointed, and the eyes are situated on the upper side of the body, nearer to the front. Draw a sharp nose at the front of the jewel shape and two little, round eyes somewhat forward from the middle.
Stage 4: Mouth and Gills
Add the mouth and gills to your drawing. The mouth of a stingray is situated on the underside of the body. Draw a little, bended line for the mouth close to the front of the precious stone shape. Then, at that point, define a couple of bended boundaries on the underside of the body to address the gills.
Stage 5: Surface and Skin
Stingrays have an extraordinary skin surface with little, scale-like examples. To catch this surface, softly draw a progression of small, covering precious stone shapes all around the stingray’s body. This will give your drawing a more practical appearance.
Stage 6: Subtleties on Balances and Tail
Presently, add subtleties to the balances and tail. Stingrays have balance like edges on their wings and a progression of little, sharp spines on their tail. Draw the balance edges with a somewhat wavy example and add short, three-sided shapes along the tail to address the spines. Be cautious with this move toward guarantee the spines look sharp and threatening.
Stage 7: Shadows and Concealing
To make your stingray drawing more three-layered, add shadows and concealing. Begin by recognizing a light source in your drawing, which will figure out where the shadows fall. Then, at that point, utilize your pencils to add hazier tones to the areas where shadows would normally happen. This incorporates the underside of the body, the tail, and the regions around the eyes and mouth. Step by step develop the overshadowing, mixing with a tissue or mixing stump to make a smooth change among light and dim regions.
Stage 8: Refine and Delete
Presently, make a stride back and assess your drawing. This is the ideal opportunity to make any vital changes. Utilize your eraser to delicately eliminate any undesirable lines or smears and refine the subtleties. Focus on the shape and extents of the stingray to guarantee it looks precise.
Stage 9: Last Contacts
In this step, you can add some last little details to your drawing. Consider adding a foundation or a few submerged components like coral or ocean plants to make a really fascinating sythesis. You can likewise add waves or shadows in the water to give your drawing profundity and authenticity.
Stage 10: Sign and Date
Congrats! You’ve effectively drawn a stingray. Remember to sign and date your work of art in the corner to check the consummation date and invest heavily in your creation.
Ways to Draw Practical Stingrays:
Concentrate on Reference Pictures: Constantly allude to reference pictures of stingrays to guarantee precision in your drawing.
Practice Surface: Stingrays have exceptional skin surfaces, so work on making that surface to make your drawing more sensible.
Try different things with Pencils: Don’t hesitate for even a moment to try different things with various pencils to accomplish shifting shades and surfaces.
Take as much time as necessary: Drawing is a patient cycle. Take as much time as necessary, and don’t race through the means.
Use Mixing Devices: Mixing instruments like tissue or mixing stumps can assist with making smooth angles and shadows.
Practice, Practice, Practice: Like any expertise, careful discipline brings about promising results. Continue drawing and refining your strategy.
Your Stingray Drawing is Finished!
The stingray is quite possibly of the most remarkable looking creature on earth, and we trust that you had heaps of tomfoolery reproducing one in this aide on the best way to draw a stingray! While possibly an interesting attracting to do, we planned to cause it simple to do to so you could zero in on the fun of making with as little dissatisfaction as could really be expected.
At the point when you’ve completed the aide, you get to assume responsibility with your own subtleties and components! You ought to go ahead and change up any of the more modest contacts and add your number one tones and craftsmanship mediums to polish it off. Then, at that point, you can move the tomfoolery along much further by visiting us on our site. There you can track down many astounding advisers for appreciate, and we transfer new ones regularly!
We would likewise be excited if you could share your completed stingray drawing on our Facebook and Pinterest pages for us to appreciate!
End:
Drawing a stingray can be a remunerating experience, permitting you to see the value in the magnificence of these submerged animals while leveling up your imaginative abilities. Keep in mind, the way in to an extraordinary drawing is persistence and practice. Thus, get your materials, follow this bit by bit guide, and plunge into the universe of craftsmanship with a dazzling stingray show-stopper as your outcome. Cheerful drawing! For more information, please Click Here!

